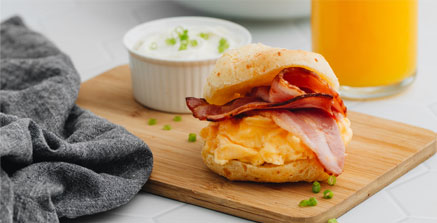
Cheesebuddy Sliders

Bite-sized Cheesebuddy Sliders are easy to make and packed with the authentic taste of Brazilian cheese bread. This pão de queijo recipe is perfect for BBQs, watching the footy, or family gatherings.

By replacing regular buns with Cheesebuddy gluten-free cheese breads, you’ll create a healthier, more flavourful mini burger. Experiment with ingredients or try a build-your-own burger station to make catering even easier.

Cheesebuddy Sliders

Author

Growing up in Brazil, food was always a central part of our celebrations. Whether it was cheering on our favourite football team or having a casual get-together with family, there was always an abundance of delicious food to share. These Cheesebuddy Sliders are my take on a classic, with a Brazilian-Australian twist that’s sure to please a hungry crowd.

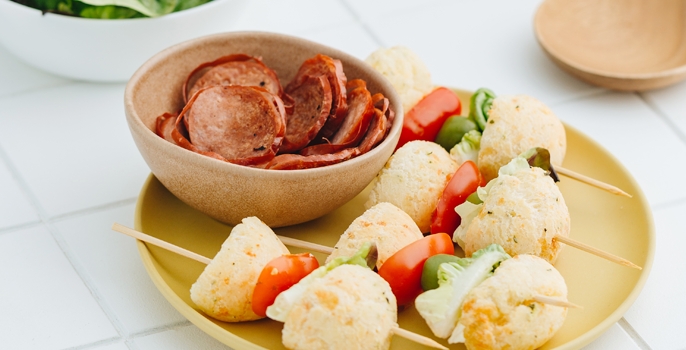
cheesebuddy skewers and chorizo

Ingredients

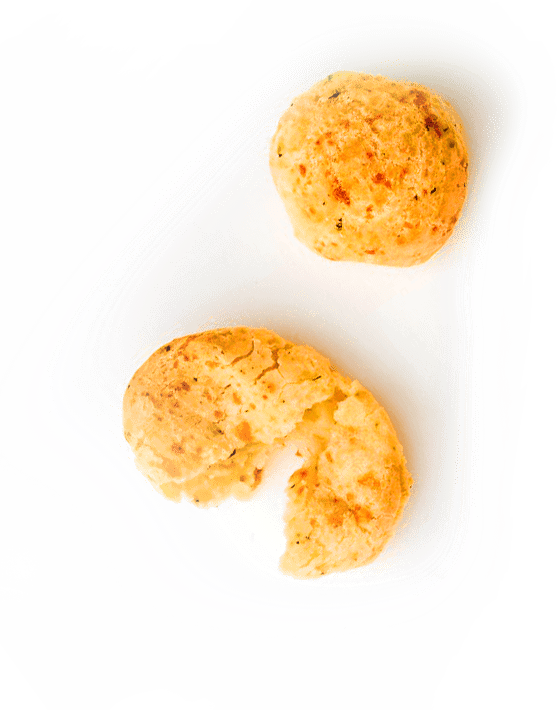
This pão de queijo recipe uses a 1.5kg pack of Cheesebuddy gluten-free cheese bread to make 50 sliders. Smaller packs contain 15 servings, so you can adjust the recipe to cater to a smaller crowd or mix-and-match flavours.

  • 1.5kg pack of Cheesebuddy Gluten-Free Cheese Bread
  • 900g lean minced beef
  • 1/2 tablespoon olive oil
  • 1 teaspoon salt
  • 1 teaspoon black pepper
  • 1 teaspoon garlic powder
  • 1/2 large yellow onion, finely diced
  • 8 slices medium cheddar cheese
  • 170g medium cheddar cheese, shredded
  • 56g mayonnaise

Latest recipes

Cheesebuddy Bruschetta

Cheesebuddy Bruschetta

Brazilian cheese bread becomes the base for an Italian classic using Australian ingredients. The result? Fresh, healthy and shareable finger food that brings cultures, flavours and friends together. This cheese bread recipe replaces the traditional bread base with...

Cheesebuddy Sandwiches

Cheesebuddy Sandwiches

This super-simple Brazilian cheese bread recipe is an easy way to use up any leftover sandwich ingredients or create a colourful party platter. Replacing regular carbs with Cheesebuddy gives you three-bite delights that are perfect for any occasion. Even better, this...

Instructions

  1. Prepare your pão de queijo:
    • Preheat your oven according to the instructions on the Cheesebuddy package.
    • Place the frozen pão de queijo on a baking sheet and bake for 30-35 minutes until puffy.
  2. Cook your slider filling while the pão de queijo is puffing up:
    • Heat olive oil in a large non-stick pan over medium-high heat. Add the diced onion and cook until softened.
    • Add the minced beef and break up with a spatula.
    • Season with salt, black pepper, and garlic powder.
    • Sauté over medium-high heat until the beef is fully cooked. Remove from heat.
    • Tilt the pan to spoon off and discard excess fat. Stir in the mayonnaise.
  3. Assemble the sliders:
    • Once the Cheesebuddy cheese breads are done baking, let them cool for 5 minutes. Slice each in half horizontally.
    • Place the bottom halves back on the baking sheet and line with sliced cheddar cheese.
    • Spread the beef mixture evenly over the cheese slices.
    • Cover with more grated cheese.
    • Top each slider with the other half of the Cheesebuddy bun, cut side down.
    • Return to the oven until the cheese is melted and the pão de queijo is fully cooked and crispy.
    • Serve warm and enjoy!

Why we love this pão de queijo recipe

Cheesebuddy Sliders are a guaranteed win for any occasion. They’re ideal for sharing, whether you’re whipping up dinner for guests or catering for a crowd of hungry footy fans.

Replacing bland buns for Cheesebuddy in this pão de queijo recipe packs even more flavour into every bite-sized slider. You can experiment with fillings to create a veggie-friendly feed or combine different Cheesebuddy products for an easy spread. Plus, our products are naturally gluten-free and contain no artificial colours, flavours or preservatives.

mission-right-side-vector-min